Windows VMs With Virt-Manager
Running Windows VMs on Linux with Qemu/KVM and Virtual Machine Manager
I run Linux natively on my laptop but, although I try to avoid it as much as possible, I still require access to Windows for the M365 suite of applications. For years now I have achieved this by running a Windows VM in Virtual Box. It did the job, but often the clipboard integration would break or the VM would crash completely.
This week I moved to a new distro (Fedora Silverblue) and spent some time looking at alternatives. In the end I settled on Qemu/KVM and Virtual Machine Manager (virt-manager) (Gnome boxes is also another good choice but lacks some of the features of VMM).
This post will explain how to configure a Windows 10 host (or Windows 11) with automatic resolution updates, clipboard sharing, file sharing and multi-monitor support. Another bonus of using Qemu/KVM is that it is built into the Linux kernel so requires minimal package installation and so far has been running flawlessly for me and appears to be faster than Virtual Box.
Install Virtual Machine Manager packages.
sudo rpm-ostree install virt-manager libvirt virt-install
Also install the spice client that supports multiple monitors.
flatpak install flathub org.virt_manager.virt-viewer
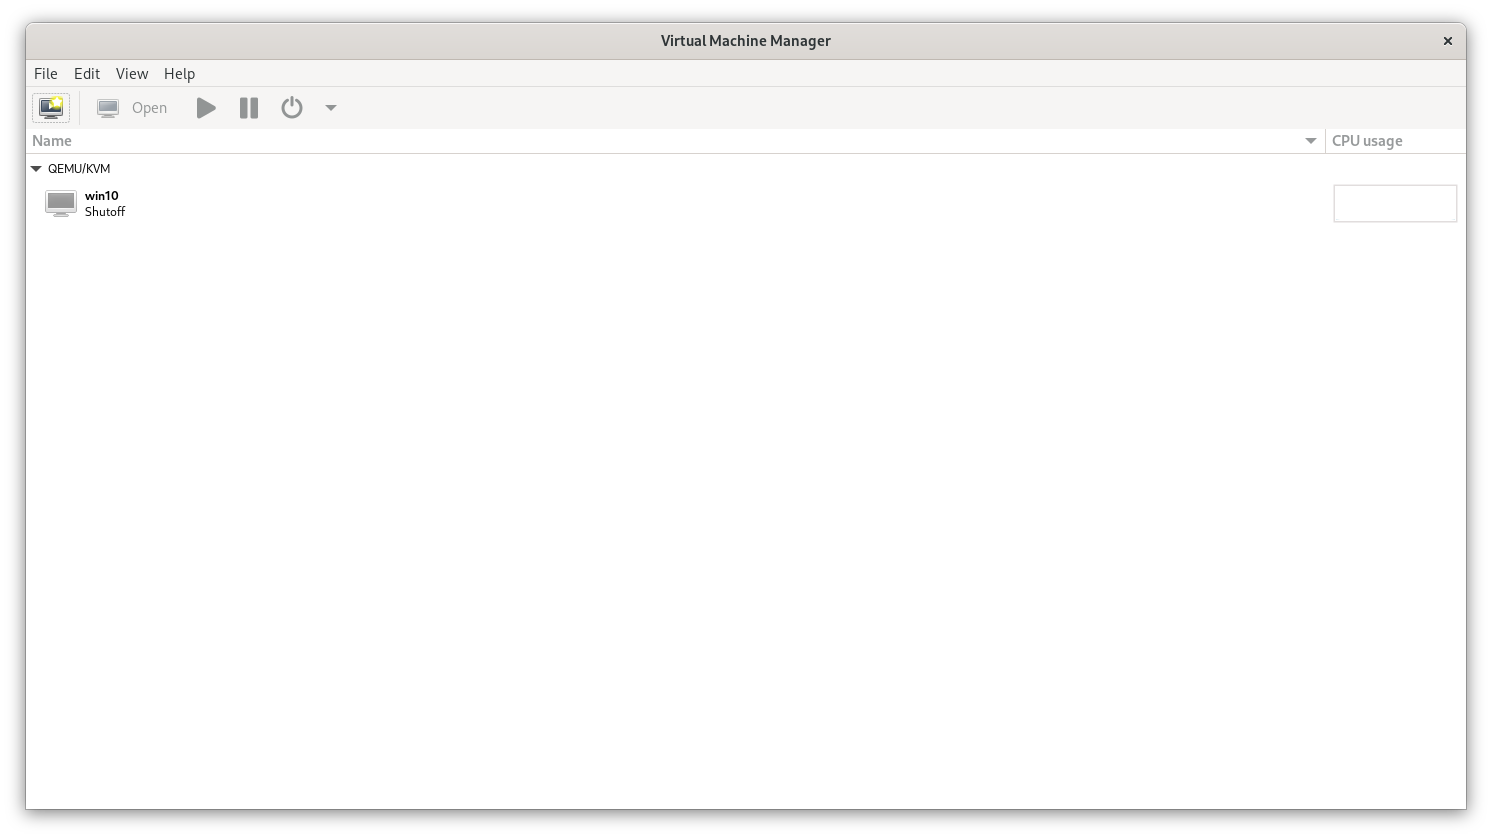
Now you have Virtual Machine Manager installed, grab a Windows ISO, create your VM and install the OS. Anyone who has used VMs before will find this straight forward, I will therefore leave that to you and continue with configuring the VM and Windows.
Once Windows is installed you need to install the following software:
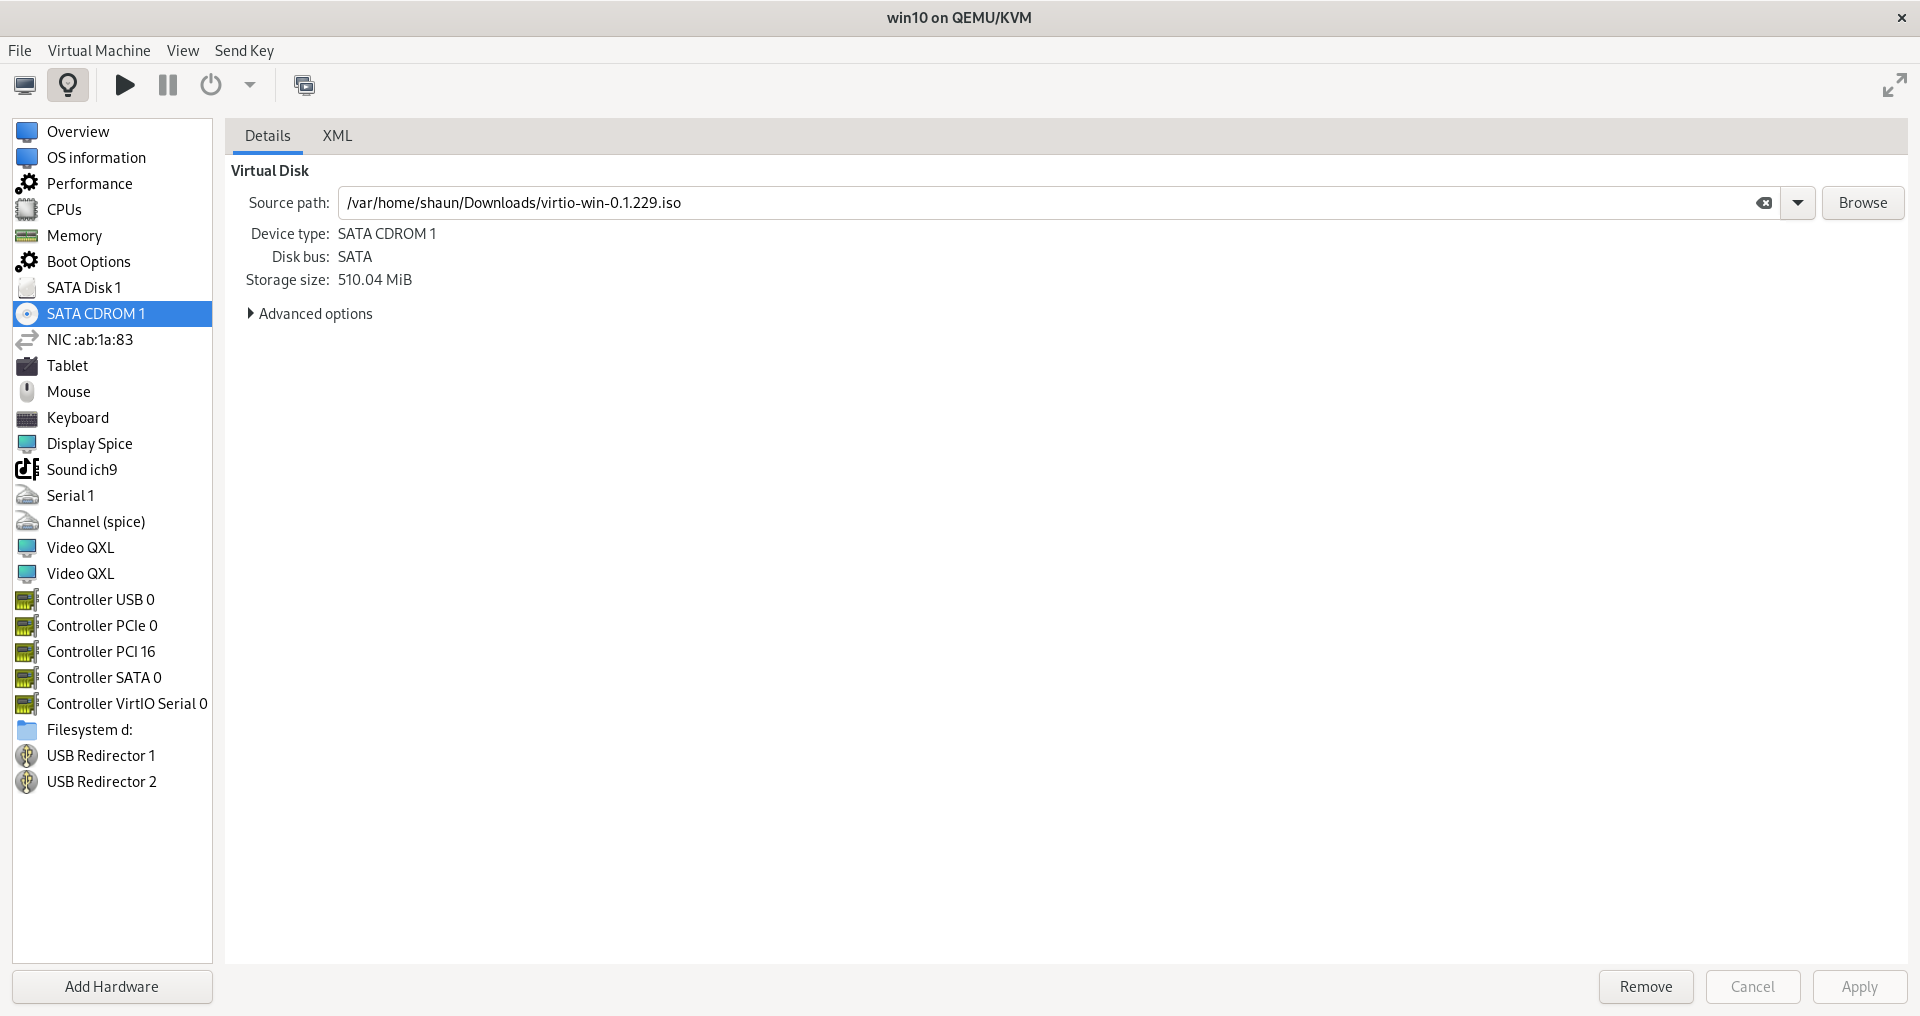
Spice and Qemu guest tools and WinFsp are just exe and msi installers, the Virtio drivers are provided in an ISO image that we need to mount in the VM via a CD drive.
Once you have these installed in the Windows VM, automatic screen resolution updates and clipboard should now be working.
To share local files we need to add a VirtioFS file system to the VM.
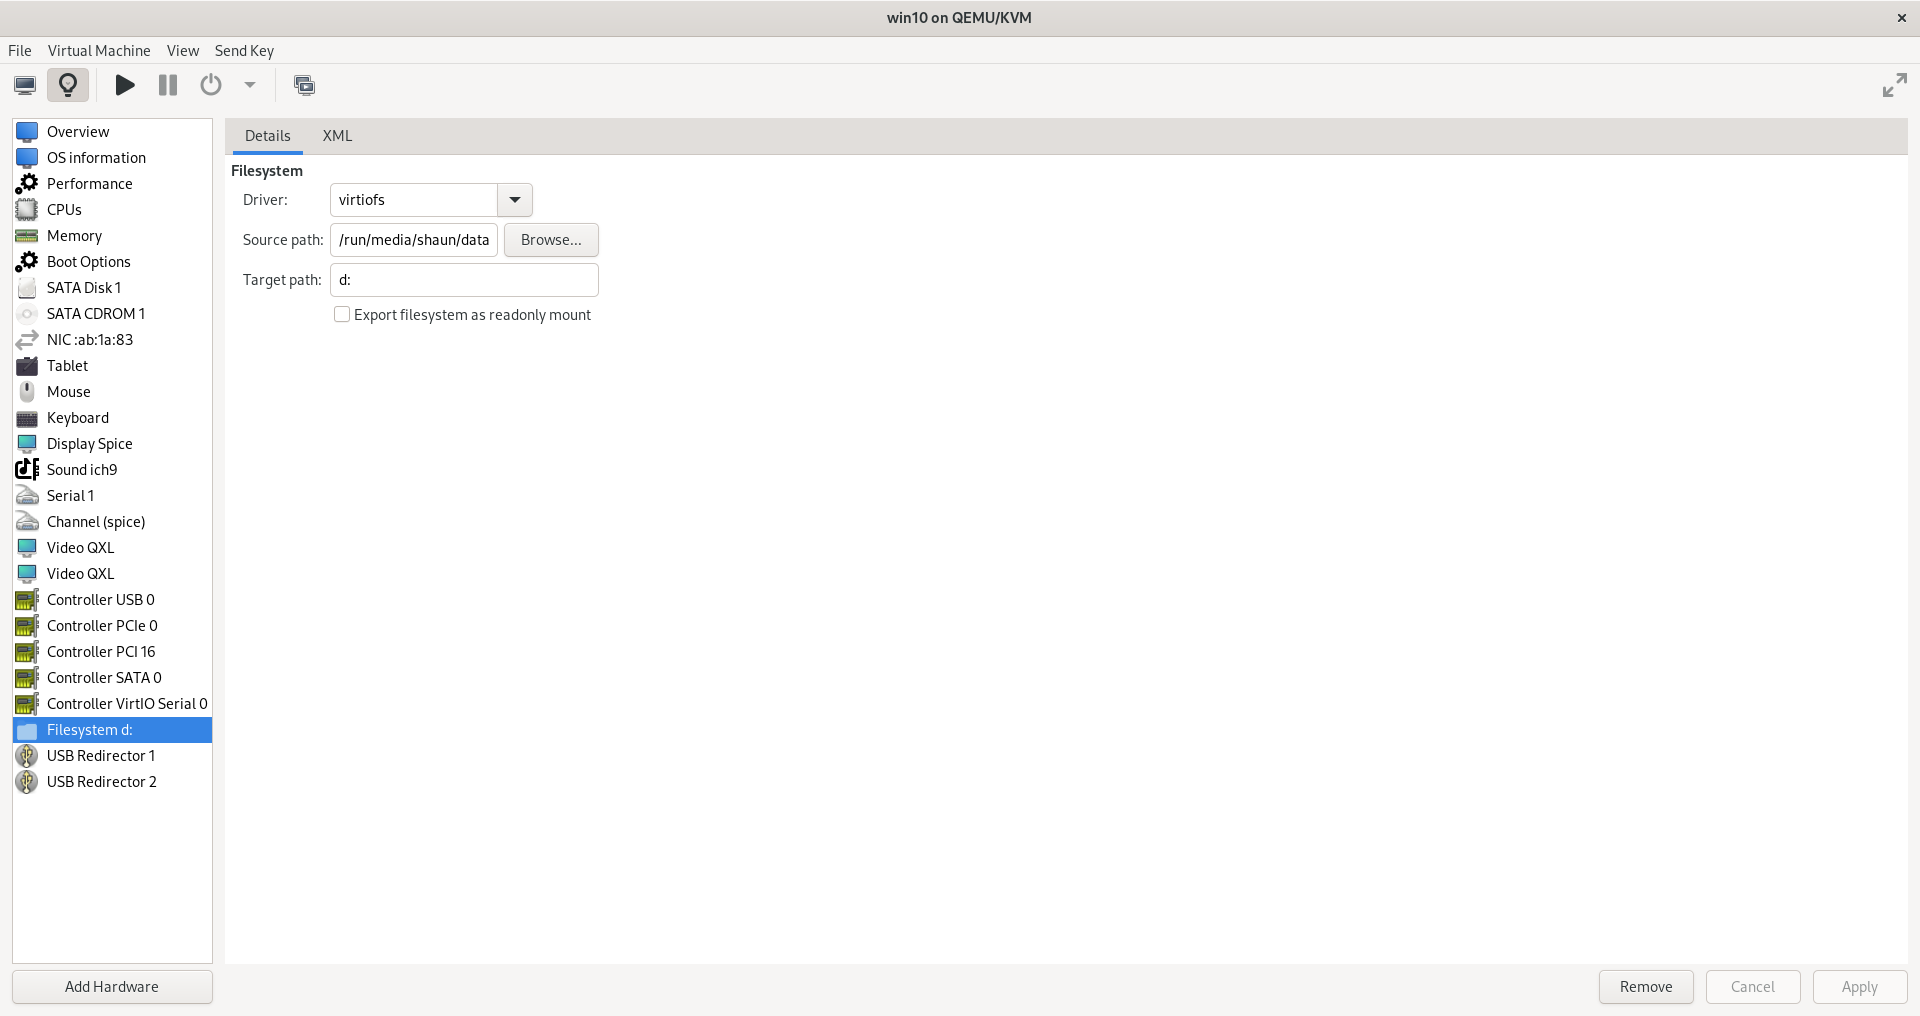
For the file system to be mounted you need to start and configure the VirtioFsSvc service to Automatic startup.

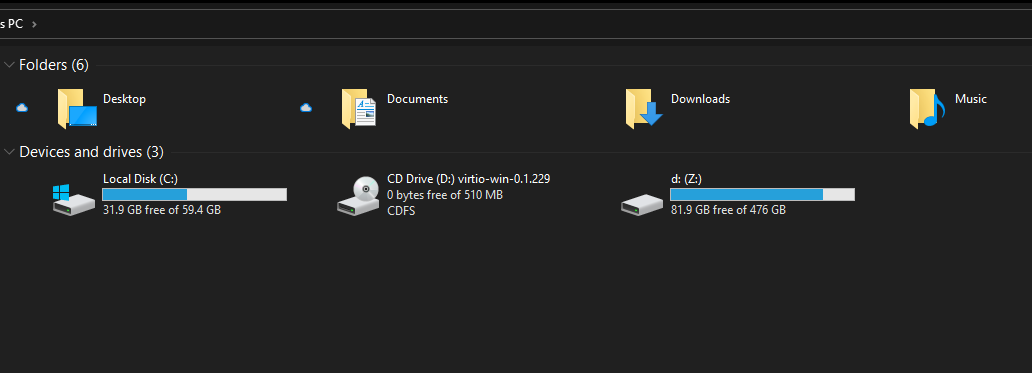
The local file location will now be mounted in the VM, unfortunately only one filesystem can be mounted.
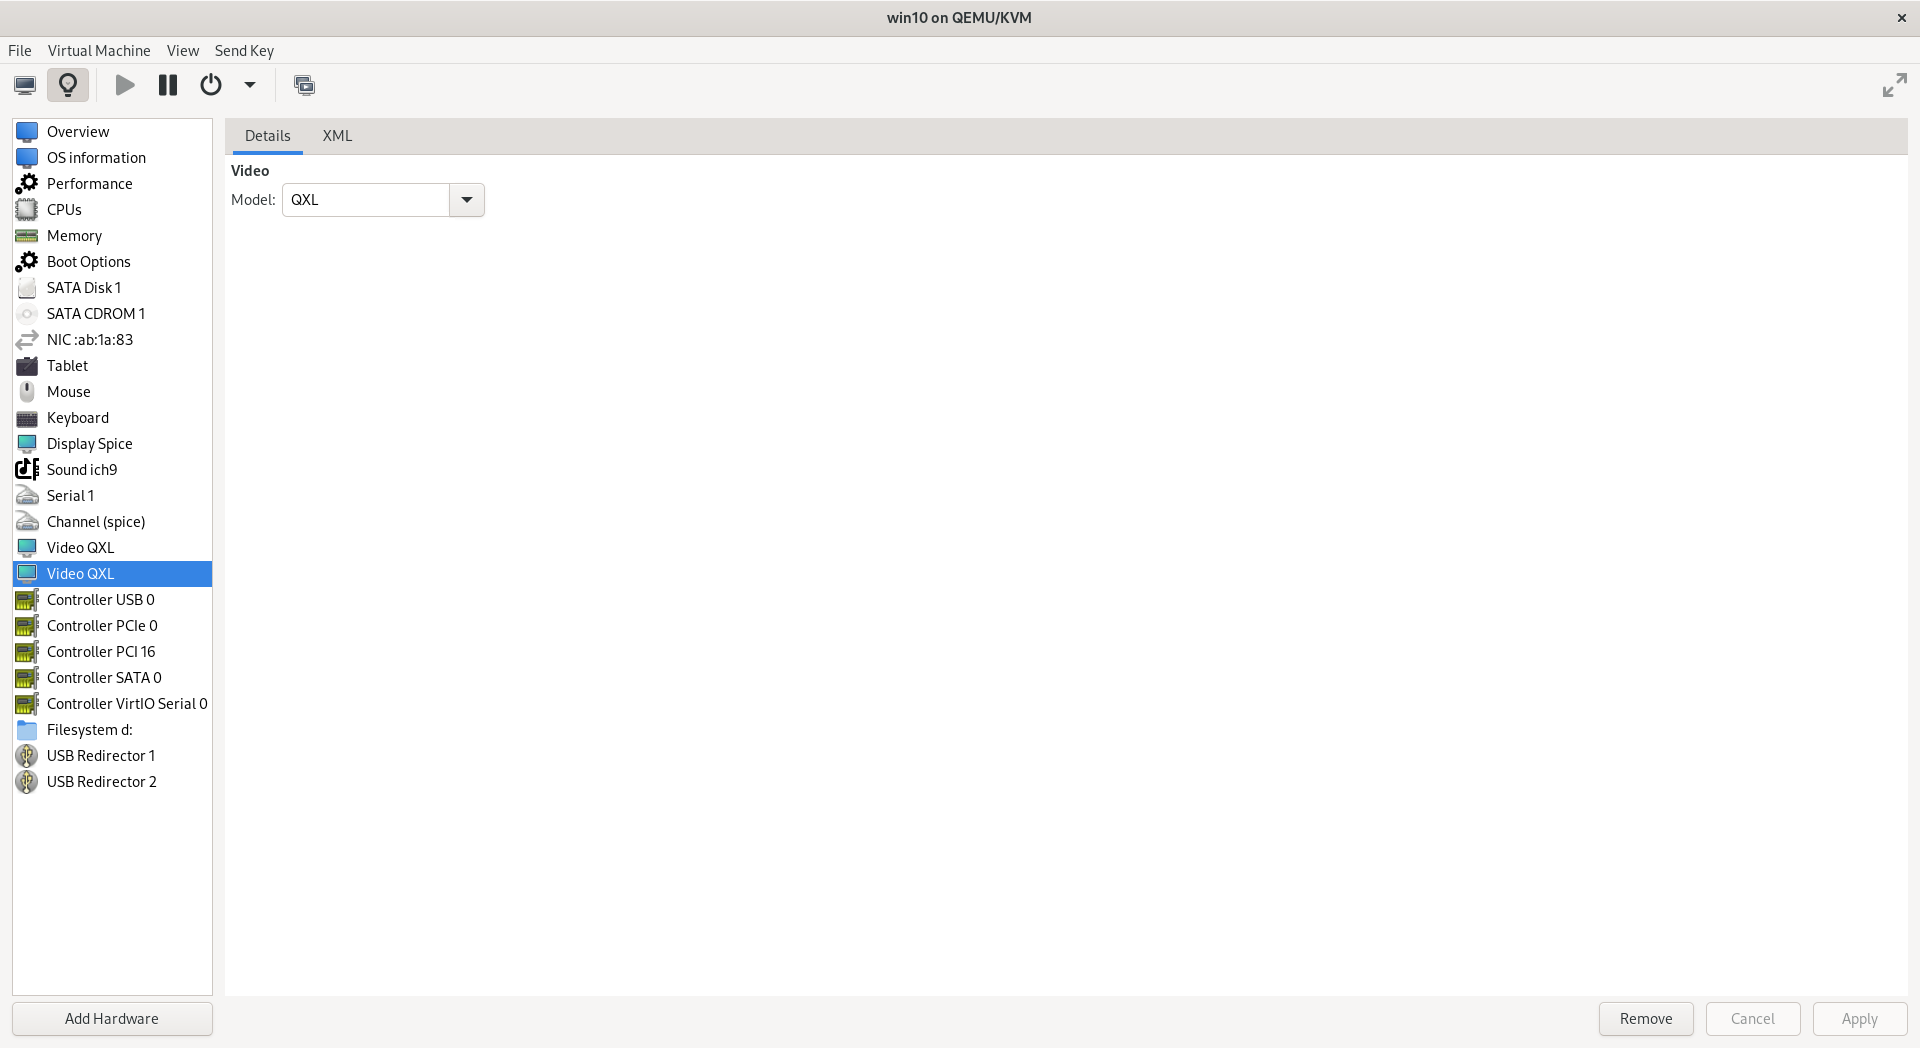
For multi-monitor support you just need to add another QXL video device. I believe you can have up to 4.
And connect to the Spice display server using Remote Viewer (virt-viewer).

Connection string spice://localhost:5900.
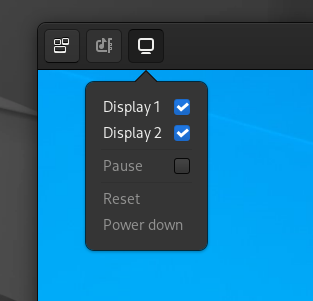
Click the machine button to enable the second display if it is not already.
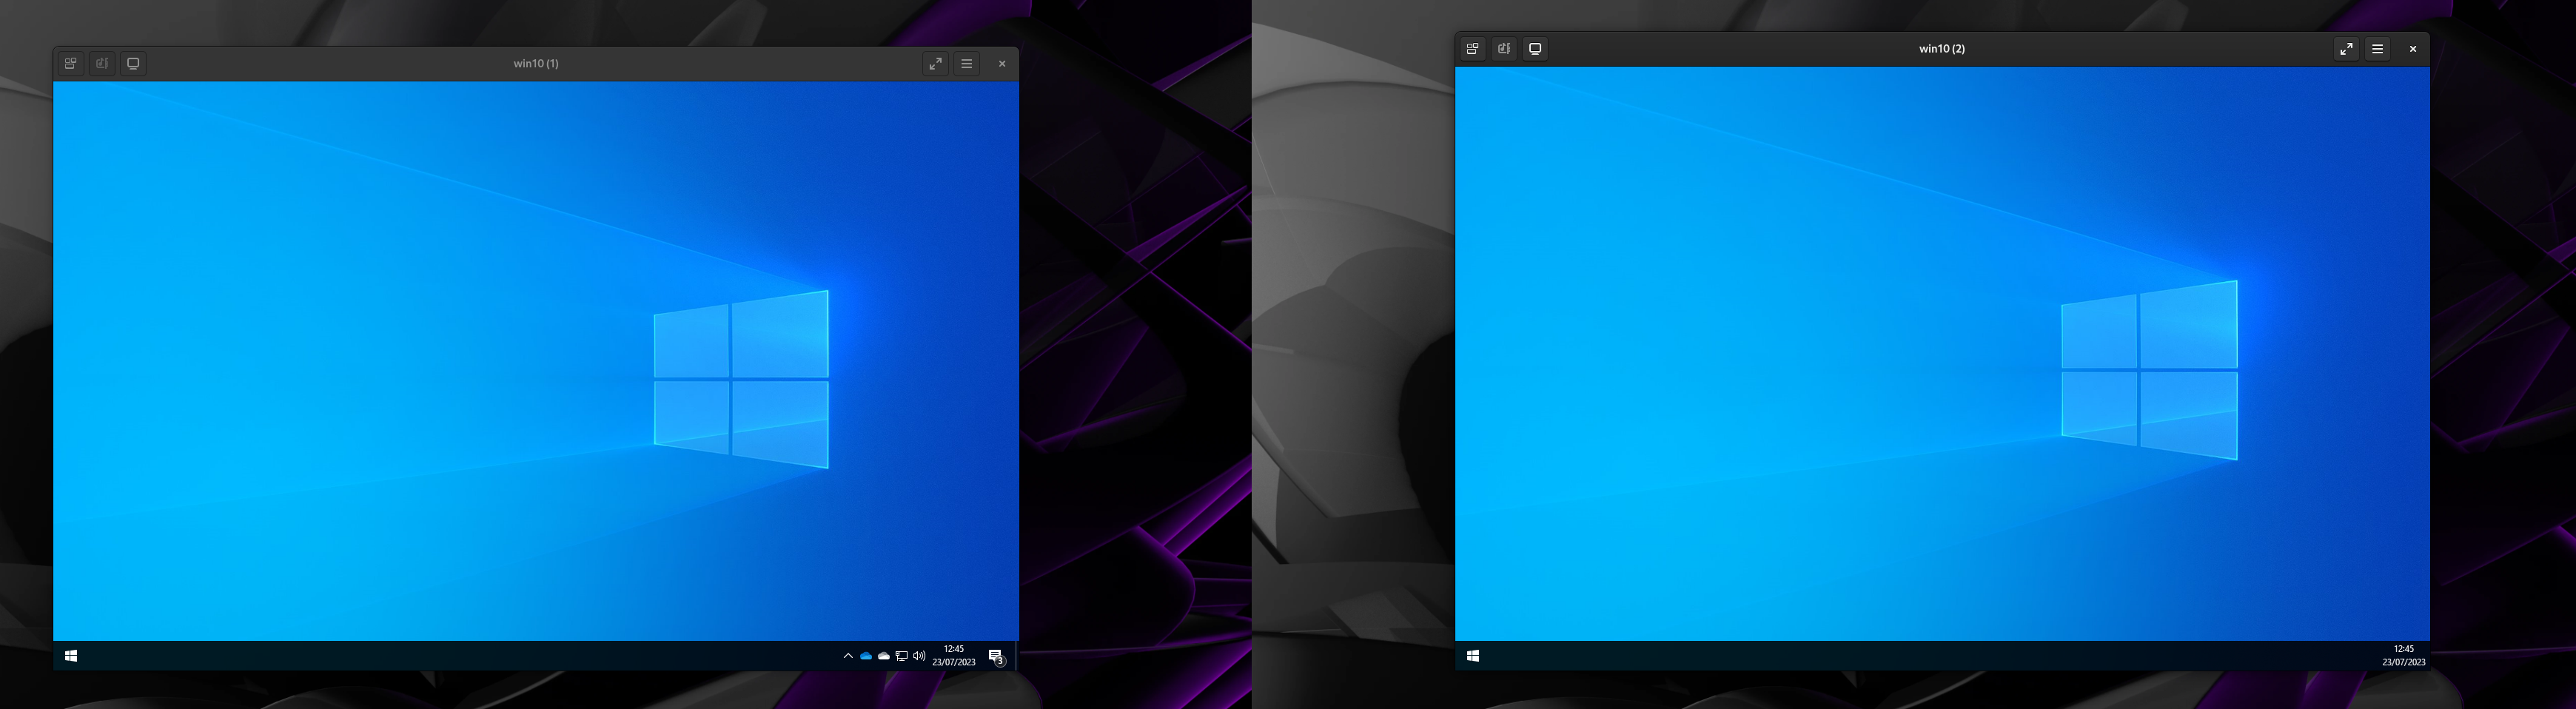
You now have a Windows 10 VM with automatic resolution updates, clipboard sharing, file sharing and multi monitor support.
you can start you VM from the cmdline with virsh start <name>. Oh and btw it is SHIFT + F12 to release the keyboard and mouse.
Resources
- https://virt-manager.org/index.html
- https://www.youtube.com/watch?v=UySlAfz7e7Q
- https://docs.fedoraproject.org/en-US/quick-docs/creating-windows-virtual-machines-using-virtio-drivers/index.html
- https://www.spice-space.org/download.html
- https://kevinlocke.name/bits/2021/12/10/windows-11-guest-virtio-libvirt/
About the author
Shaun is a Penetration Tester and Bitcoiner, with over a decade in the Security Industry, specialising in Cloud and Infrastructure Security and regularly completing assessments for all manner of companies from global corporations to small charities and non profits.